How to Convert PNG to SVG for AI-Generated Images
Updated
Aug 20, 2025
Read time
3 min
3

Sasha Mozdir
Indie Creator
AI tools usually output raster images (JPG or PNG). That’s fine for quick sharing, but it can be limiting for design work. I recommend always converting these types of visuals into SVG: logos, icons, arrows, diagrams, lines, hand-drawn elements. Keep raster formats (PNG or JPG) only for photos, complex textures, or realistic 3D renders.
1. Generate directly in vector
ChatGPT can generate images directly as SVG. Other AI tools, like Recraft, also support vector output. This is the most convenient option, since you skip the conversion step altogether.
2. One-click vectorizers (fast and simple)
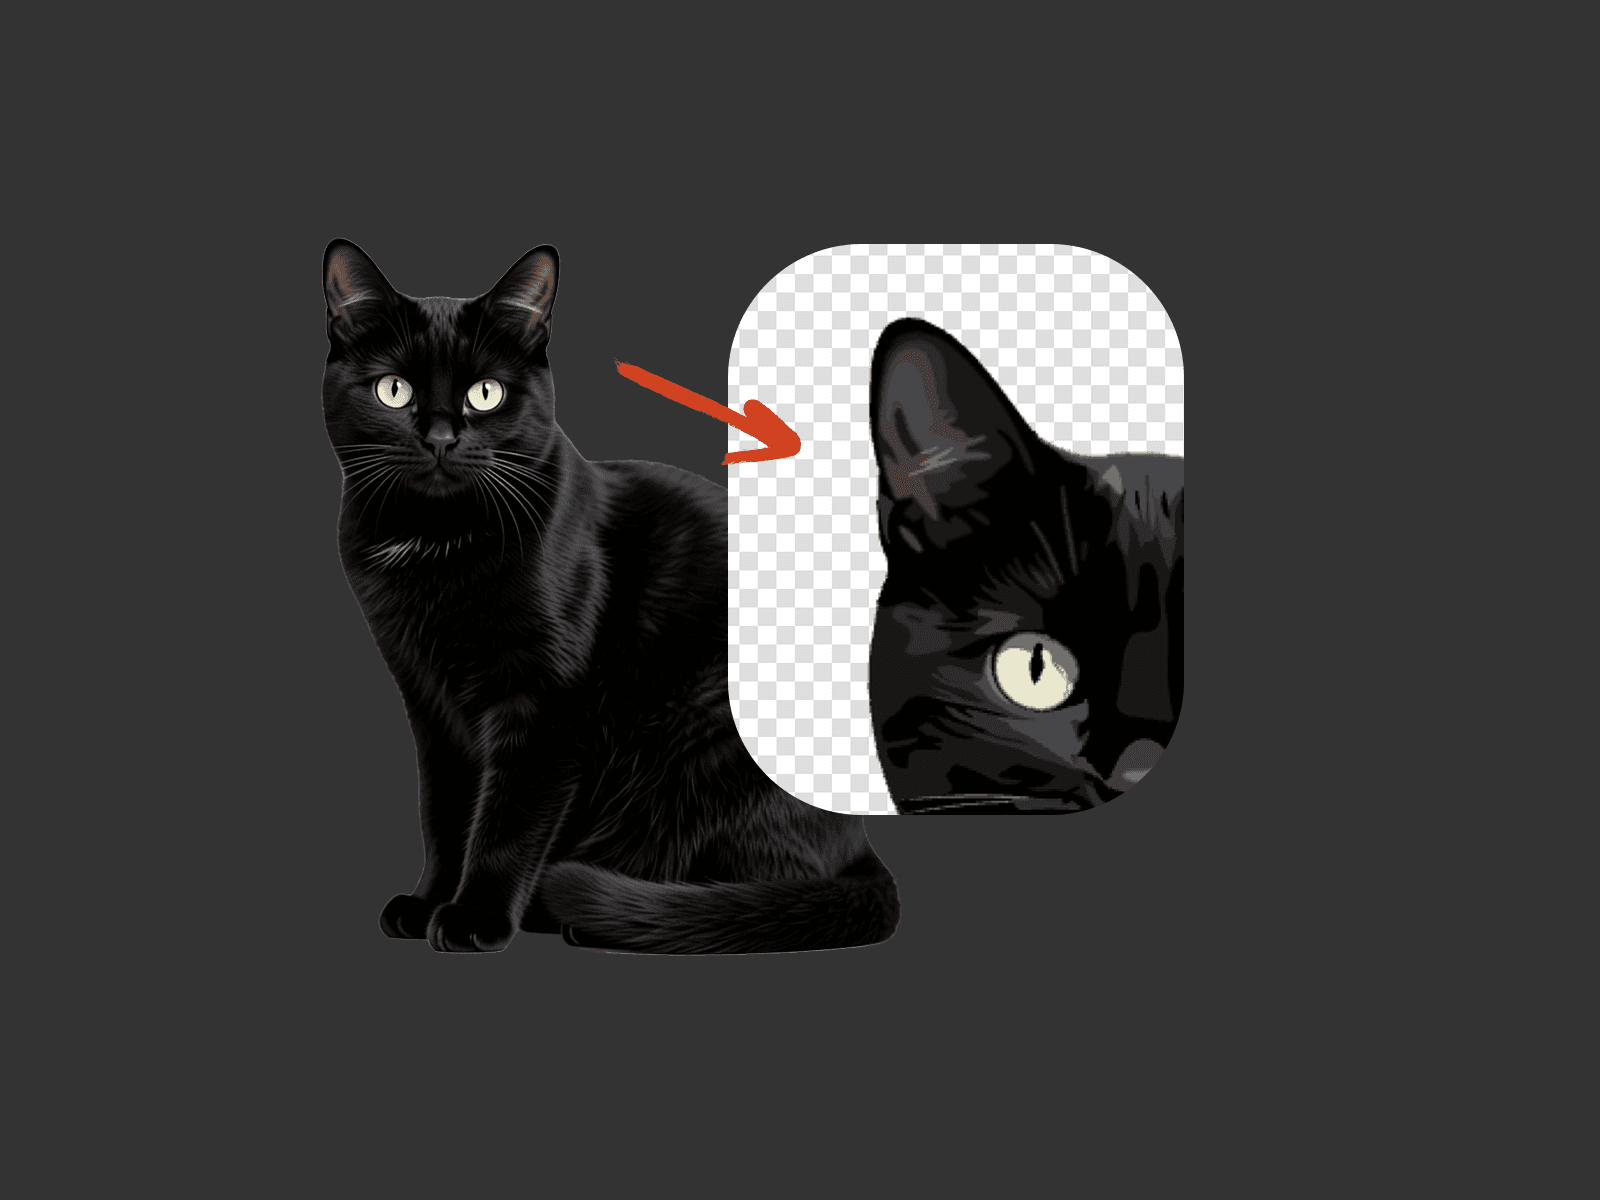
If your source file is raster, you can easily convert it to vector. Just Google “PNG to SVG” and you’ll find plenty of options. I recommend: Vectorizer.ai — upload a PNG, download an SVG. Perfect for clean, high-contrast images like icons, scribbles, or logos.
3. Figma plugins (direct in your workflow)
There are plenty of free plugins right inside Figma. For example: Image Tracer, Vectorizer. Great if you’re already building in Figma and want to keep assets editable.
4. Professional software (more control)
Best choice for complex illustrations or when you need precise control over vector paths. Adobe Illustrator → Image Trace:
Import PNG.
Go to Window → Image Trace.
Adjust thresholds and detail levels.
Pro tips for AI assets
Use high-contrast PNGs (black on white works best). Gray tones or semi-transparency can create messy vectors.
Always check and clean up nodes: automatic vectorizers often create too many points. Simplify paths for lighter, smoother SVGs.
How to Remove Backgrounds from AI-Generated Images