How to Convert PNG to SVG for AI-Generated Images
How to Remove Backgrounds from AI-Generated Images
Updated
Aug 20, 2025
Read time
3 min
3

Sasha Mozdir
Indie Creator
AI tools like MidJourney often generate visuals on a solid background. But for design use — in web interfaces, social media graphics, or presentations — you’ll often need transparency. Here’s how to get it.
1. Generate without a background
ChatGPT can output images with a transparent background if you ask for it. The limitation is resolution (up to about 1024×1024 px). That’s usually fine for icons, scribbles, or small graphics, but not enough for larger illustrations.
2. Use smart prompts (prevention is better than cleanup)
MidJourney creates more detailed images, but they almost always come with a solid background. To make removal easier, generate your visuals on a clean backdrop. Add phrases like:
plain white background
isolated object
transparent background
cutout style
A plain white background is the easiest to remove without artifacts.
3. One-click tools (best for beginners)
Best choice for simple shapes, 3D objects, or quick edits.
Remove.bg — upload your image and get a transparent PNG in seconds.
Figma Plugin → Remove BG (by Remove.bg) — works directly inside Figma.
Canva Background Remover — premium feature, handy if you’re already designing in Canva.
Adobe Firefly Background Removal — built-in Adobe option.
4. Free online editors (more control)
For example, Photopea — a free Photoshop alternative right in your browser.
Upload your image.
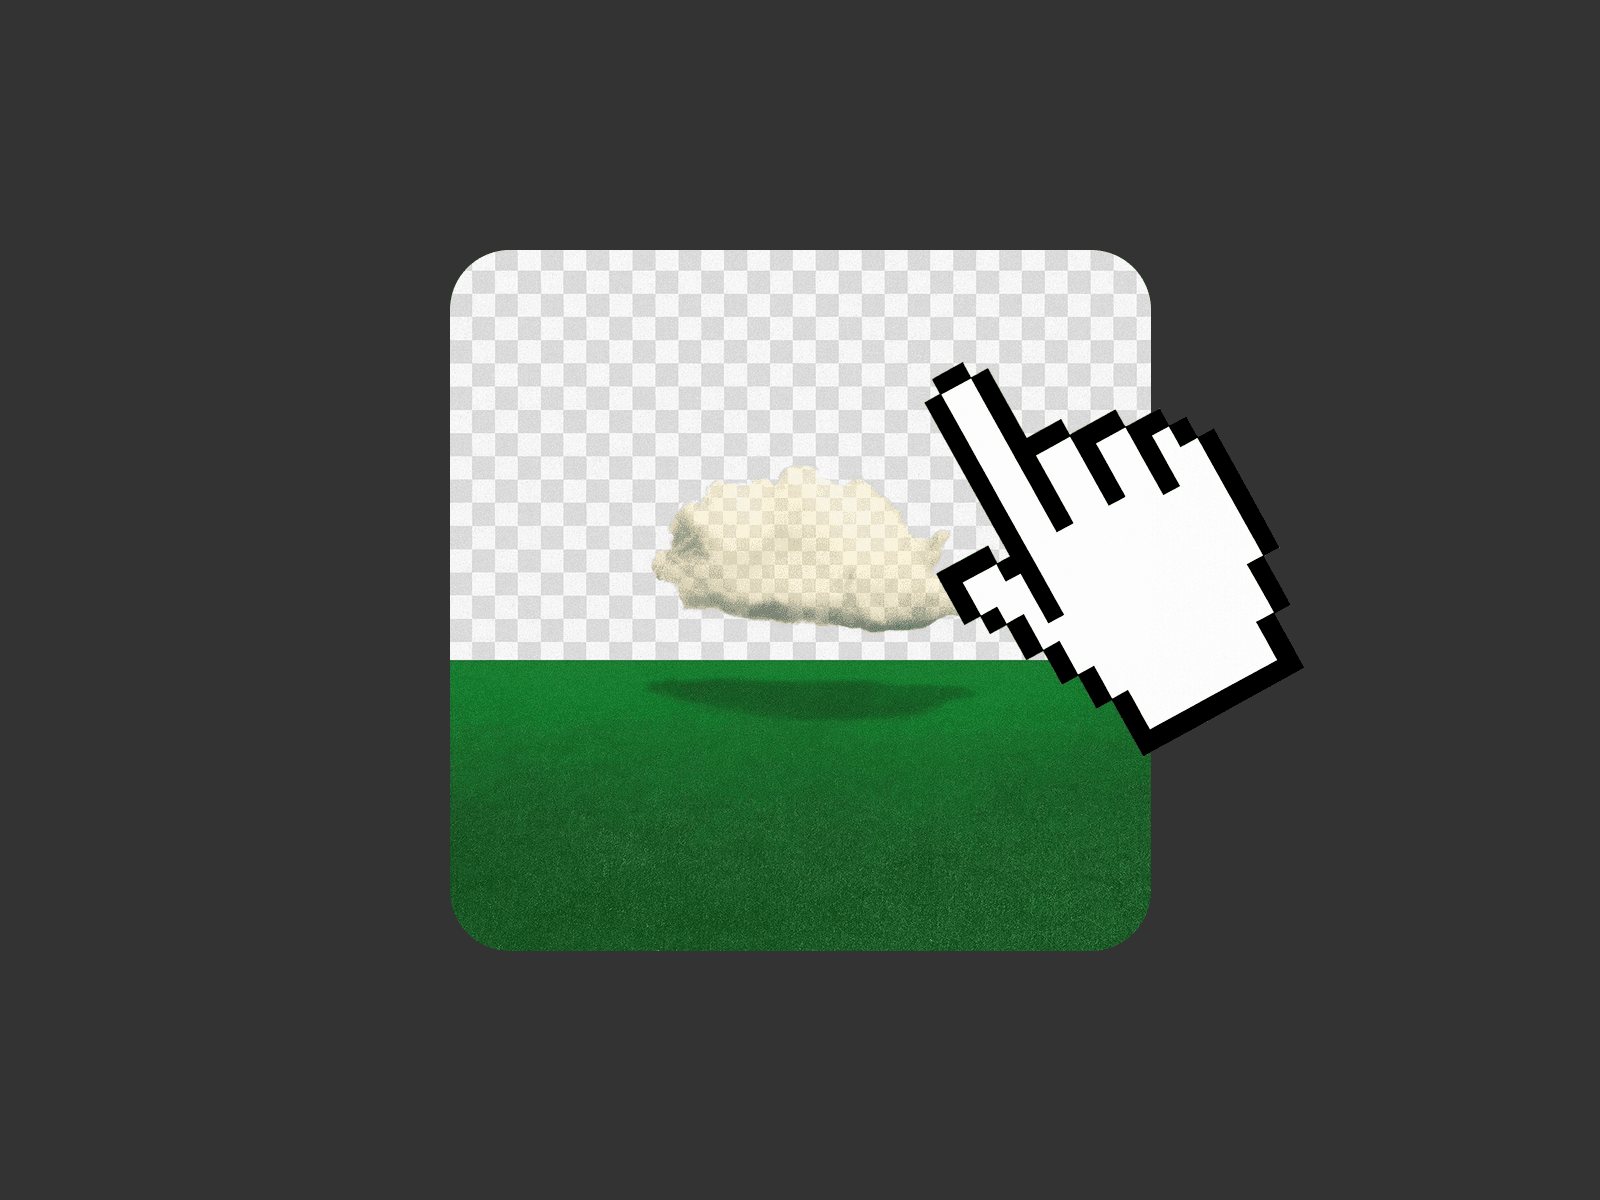
Go to Select → Color Range → White.
Delete the background in one click.
If you’re working with a whole set of AI images, Photopea can handle batch editing, so you don’t have to clean them up one by one.
5. Professional software (maximum quality)
Best choice for complex AI generations and print projects. Adobe Photoshop — for pixel-perfect results.
Use the Magic Wand or Quick Selection Tool.
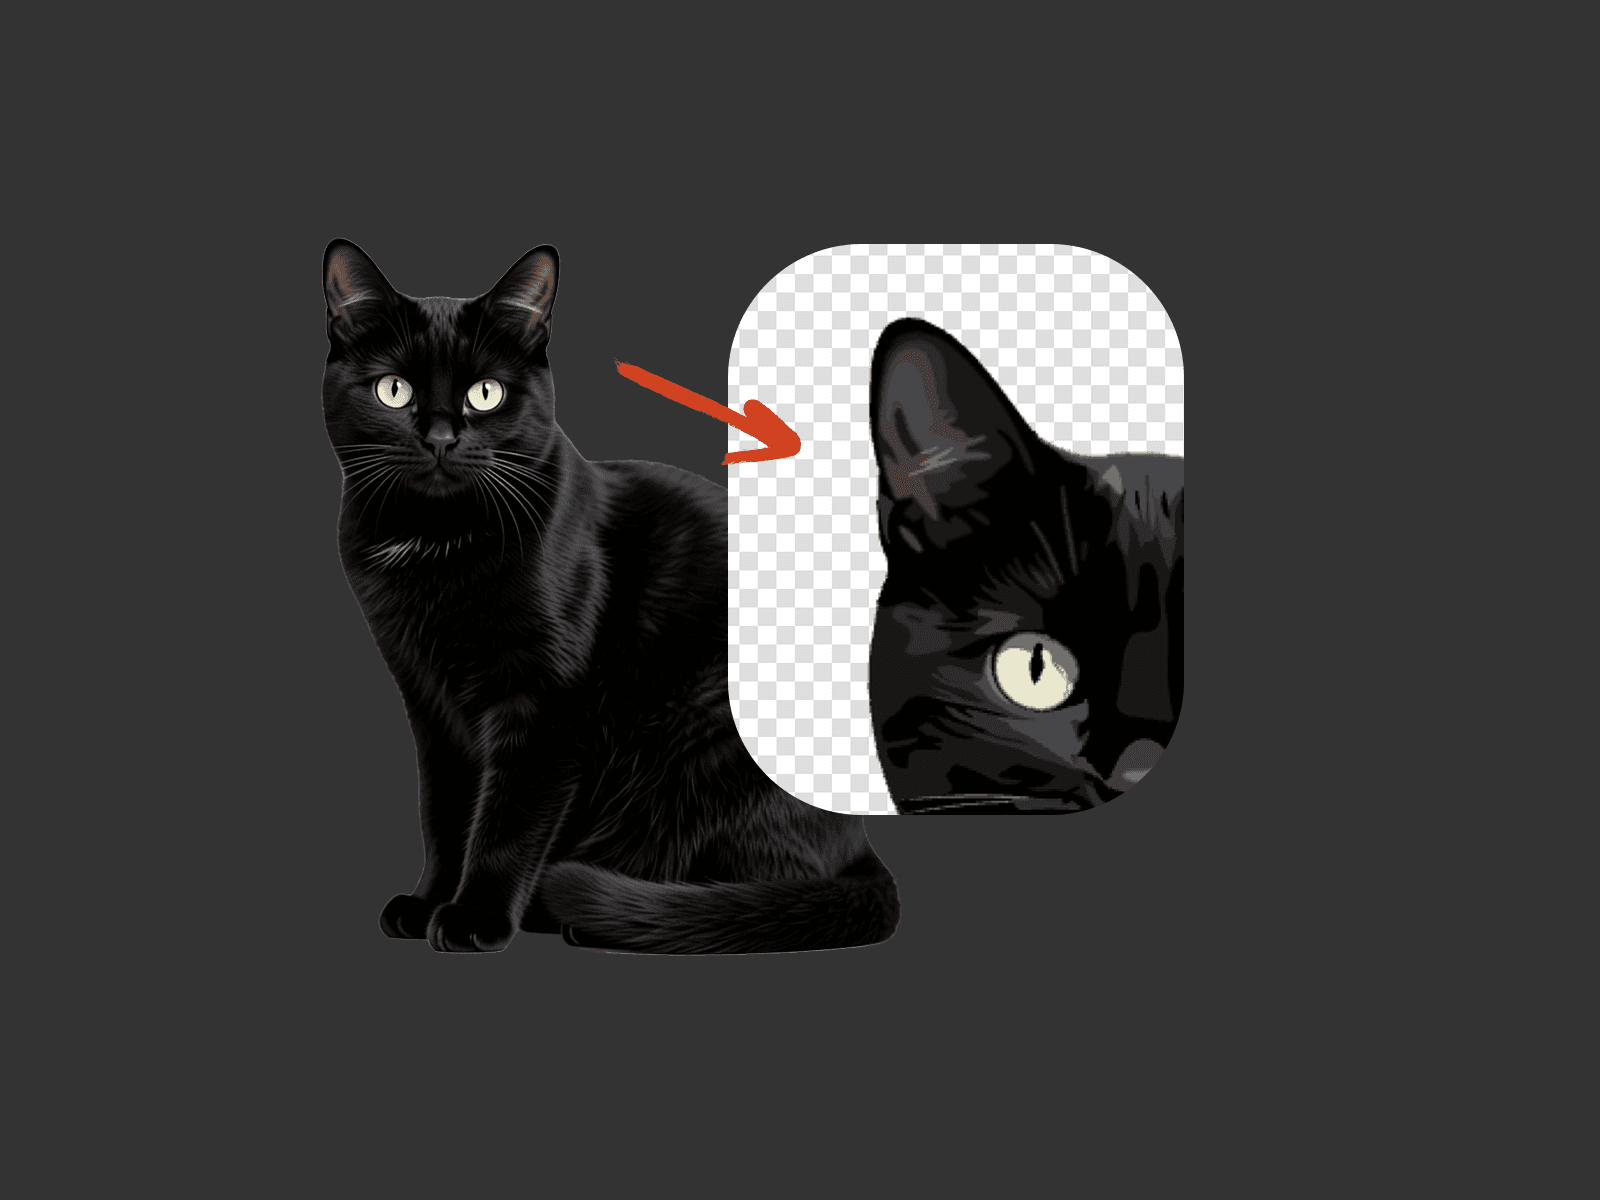
Refine edges with Select and Mask for hair, smoke, or fabric.
Post-processing for Clean Lines
For assets like scribbles, arrows, strokes, or other thin components, it’s best to refine them in Photopea or Photoshop after removing the background:
Background removal
Use Select → Color Range → White/Beige and press Delete.
Adjusting blacks (for black ink elements)
Go to Image → Adjustments.
Reduce Exposure to minimum.
This deepens the black and removes leftover gray “ghosting” pixels.
Adjusting colors (for colored elements)
Instead of exposure, use Hue/Saturation.
Increase Saturation, lower Lightness slightly.
This keeps red/blue/green scribbles bright and crisp without washing them out.
Tip: Always zoom in 200–300% to spot halos or artifacts around thin strokes.
Removing the background from AI-generated images isn’t just about “erasing.” It’s about choosing the right method: setting up prompts correctly, picking the right tool, and saving the final file in the right format. Done well, your AI generations become real design assets — clean, flexible, and ready to use in any project.